
Nary a worry! Here I am to rectify the situation and introduce you all to the amazingly awesomeness that is: The Cream Cheese Mint.
These lil’ beauties are a tradition at my family weddings. So of course, I HAD to have them at my own wedding last year. In my wedding colors, natch. And I had just gotten a Kitchenaid from my parents as a pre-wedding gift…so it ONLY made sense to bust it out & spend three evenings cranking out hundreds of tiny mints.
Of course, we then somehow managed to completely FORGET to put them out at the reception. 300+ mints. That my bridesmaid Babsy & I slaved over. Completely forgotten. Lost in the freezer behind the ice cream for the root beer floats. It pains me, even to this day.
So, after the reception, my new hubby & I had all the extra “stuff” that wasn’t eaten at the wedding. Ice cream, sandwiches, cupcakes, meatballs, fruit, and a quarter-ton of mints. We started putting them on EVERYTHING. Including the leftover ice cream.
 Tastes like love.
I also had some silicone molds that I borrowed from my aunts. There are TONS of designs available; my aunts had some for Christmas, baby showers, graduations, etc.
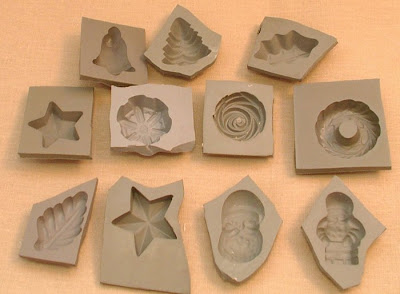
I stuck with making green leaves, blue roses, and threw in some white fleur-de-lis for good measure.
Ingredients: (this will make about 5-7 dozen mints)
1 package (3 ounces) fat free cream cheese or Neufchatel, room temperature
1/4 teaspoon peppermint extract
food coloring (enough to get your preferred shade)
4 1/4 to 4 1/2 cups powdered sugar
Granulated sugar
Directions:
NOTE: if you want to make a couple different colors, just make half of a batch at a time. Or you can make a plain white batch and then add your food coloring at the end, though it’s sometimes hard to get the color incorporated as well at the end…however, it can produce a really cool marbling effect, so that’s also a fun option!
Place your cream cheese & extract in a mixer and blend until smooth and the extract is well incorporated. (Note: A stand mixer, such as a Kitchenaid, will make this recipe SUPER easy, since you can leave the beater running while you incorporate ingredients.)
Add your food coloring. Depending on what color you’re going for, this could be a lot, or not very much. For the green you see above, I only had to use a few drops per batch. However, I wanted a really rich blue for the roses, so it took considerably more food coloring to get it beyond a “baby shower blue” color.
Now, start adding your powdered sugar—about 1/2 cup at a time, in order to avoid the “there’s sugar everywhere and my kitchen looks like a meth lab” effect. Your “dough” is ready once it’s firm and no longer sticky. If it’s still sticky after 4.5 cups…add some more sugar. You should be able to pull off a piece & roll it into a ball without it sticking to your hands, though it may still be slightly tacky.
Set up a “sugarcoating” prep station. about 1/2 cup of granulated sugar in a small bowl will work.
Hygiene Note: You’re going to be handling this stuff with your paws, so now’s a good time to wash your hands. With SOAP.
Scoop out a small piece of the “dough”—the amount you need will depend on the size of your. You’ll sort it out as you go; it might take a couple tries to guesstimate it right. Roll it into a ball, and then drop that ball into your “sugarcoating” bowl. Roll it around until it’s fully coated, and then press it into your mold. The sugar on the outside keeps the mint from sticking to the mold, so be sure it’s fully coated.

Now, repeat like 59-83 times.
And the GREAT news? These freeze perfectly. You can make them up to a month in advance. Then, on the day of your event, just take them out of the freezer that morning.
As you know, I was a wedding-crazed bride while I was making these…so I don’t have a ton of pics, since I wasn’t in “blogger mode”. So instead, I’ve perused the interwebs for some fun examples of mints you can make using this basic recipe.
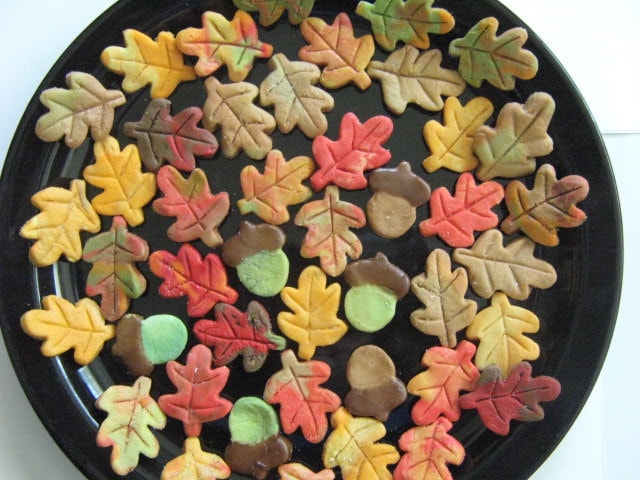
Fall is coming up, so some of these would be super cute:
This would be some of that marbling I mentioned above.
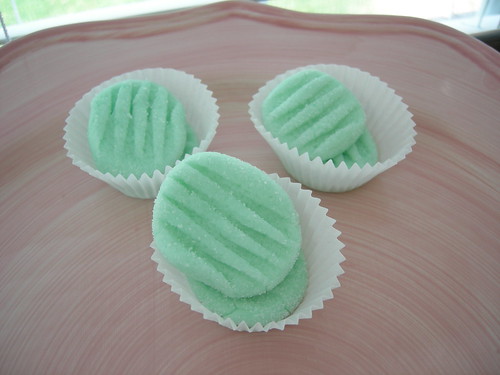
Or, if you don’t have mint/candy molds, you can also just lightly smash the sugared dough ball with a fork to make these simple lovelies:
Another option if you don’t have mint/candy molds would be rolling the dough out, lightly dusting with sugar, and then using small cookie cutters, like this example:

Love those colors!!!
And THESE are simply gorgeous, if you’re really adventurous. The creator used buttons to create their own silicone molds. These would just be PERFECT for a vintage style wedding.

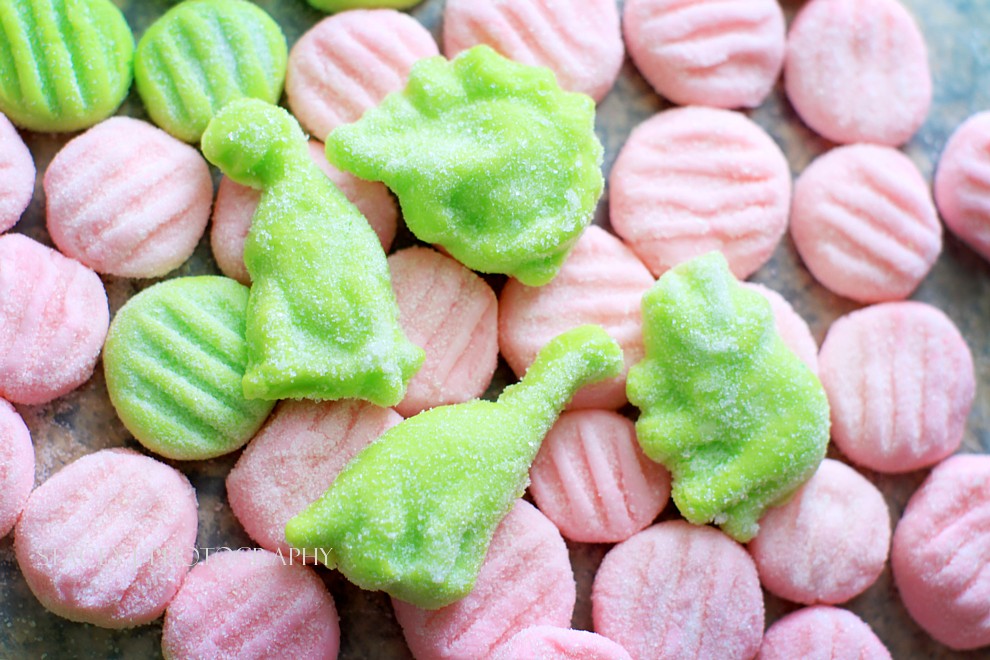
MINTY DINO’S!!!! Love.
Are there any interesting traditions your family has at weddings? I would love to hear about them!
Other flavors can be made~~ I have used Amaretto, Peach schnaps, Captain Morgan's Spiced Rum, Raspberry, etc.
ReplyDeleteIf you are not freezing, how long do these take to dry? Was looking for an easy mint recipe to try with my craft club. They would need to be ready to go home at the end of our hour and a half long meeting.
ReplyDeleteI think you could definitely try that!
Deletewith cream cheese do these need to refrigerate or can they sit out
ReplyDeleteI would recommend refrigerating until ready to serve, but yes, they can sit out at room temperature.
Delete